GUIDE 010 / Lighting / Field Guide
Shooting in Harsh Miami Light: 7 Tricks to Make the Midday Sun Work for You
Learn seven practical ways to use harsh Miami midday light for portraits, from open shade and backlight to reflectors, one-strobe drama, hard shadows, and warmer white balance.
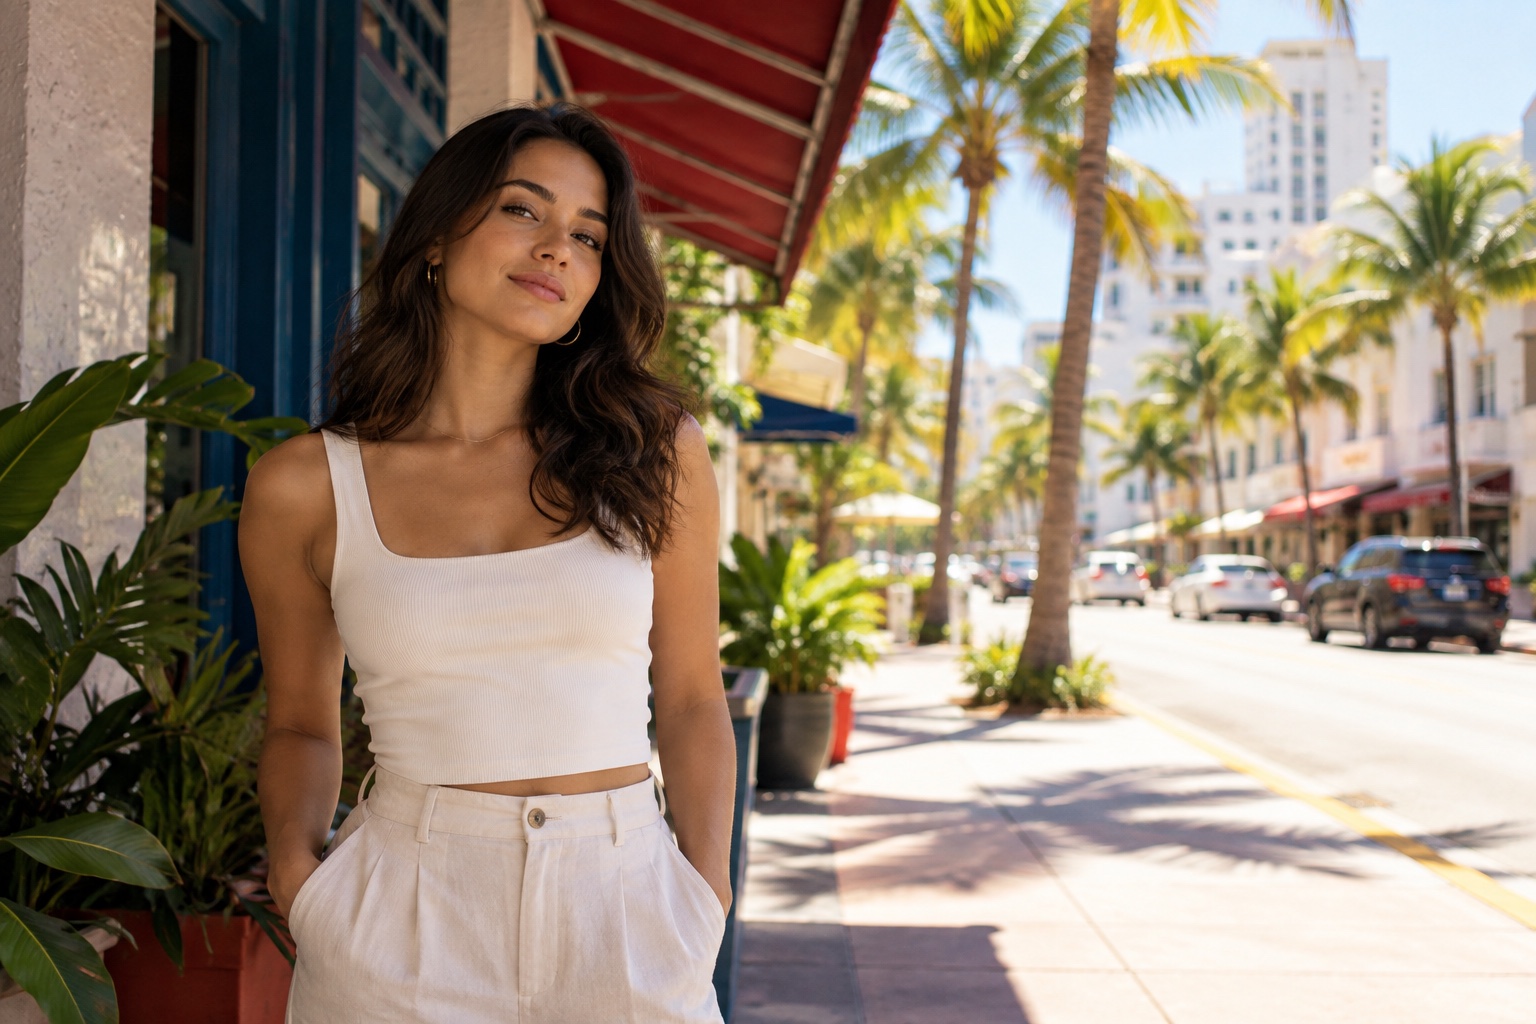
Every photographer in Miami has the same love-hate relationship with the sun. From about 10 AM to 4 PM, it is relentless: harsh shadows under the eyes, blown-out highlights on foreheads, and clients squinting at the sky.
Most photographers avoid it entirely and say, “Let’s shoot at golden hour.” That is fine until a client can only do Saturday at noon.
Here is the truth: harsh light is not bad light. It is honest light. If you know how to shape it, midday Miami sun gives you contrast, drama, and texture that golden hour cannot touch. These are the seven moves I use when the sun refuses to cooperate.
1. Turn your subject into the shade and let the background blow out
The fastest fix costs you nothing. Put your subject in open shade—under an awning in Little Havana, beneath the palms at Crandon Park, or inside a doorway on Calle Ocho—and let the bright street behind them fall out of focus and glow.
Your subject gets soft, flattering light. The background gets that sun-drenched Miami energy. The trick is exposing for the face, not the background. Let the highlights behind them go bright. That is not a mistake; it is the look.
LOOK / Open shade and bright background
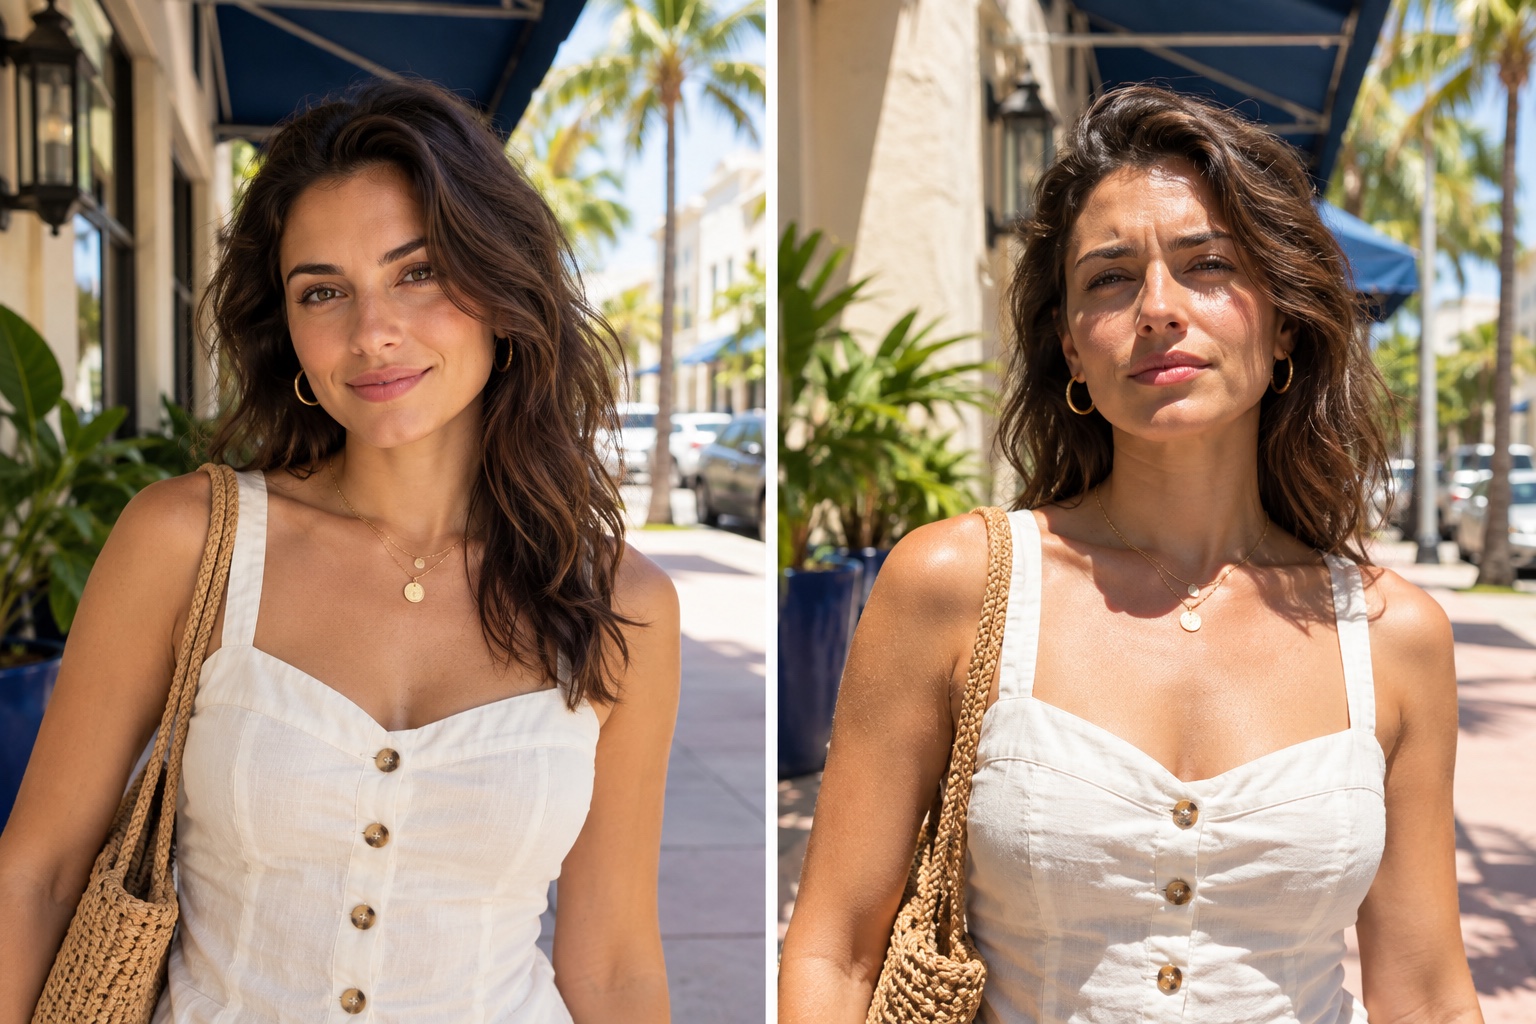
Use the visual break to study the light direction before changing the gear.
2. Shoot backlit and use the sun as your rim light
Instead of fighting the sun, put it behind your subject. A strong backlit setup turns harsh sun into a beautiful rim light: hair glows, shoulders pop off the background, and you get separation for free.
The catch is that the face will be in shadow, so bring it back with a reflector or a speedlight at low power. Before you leave for South Beach, sketch the sun angle for the time and location so you know which modifier is worth carrying.
LIGHTING / Backlight becomes rim light
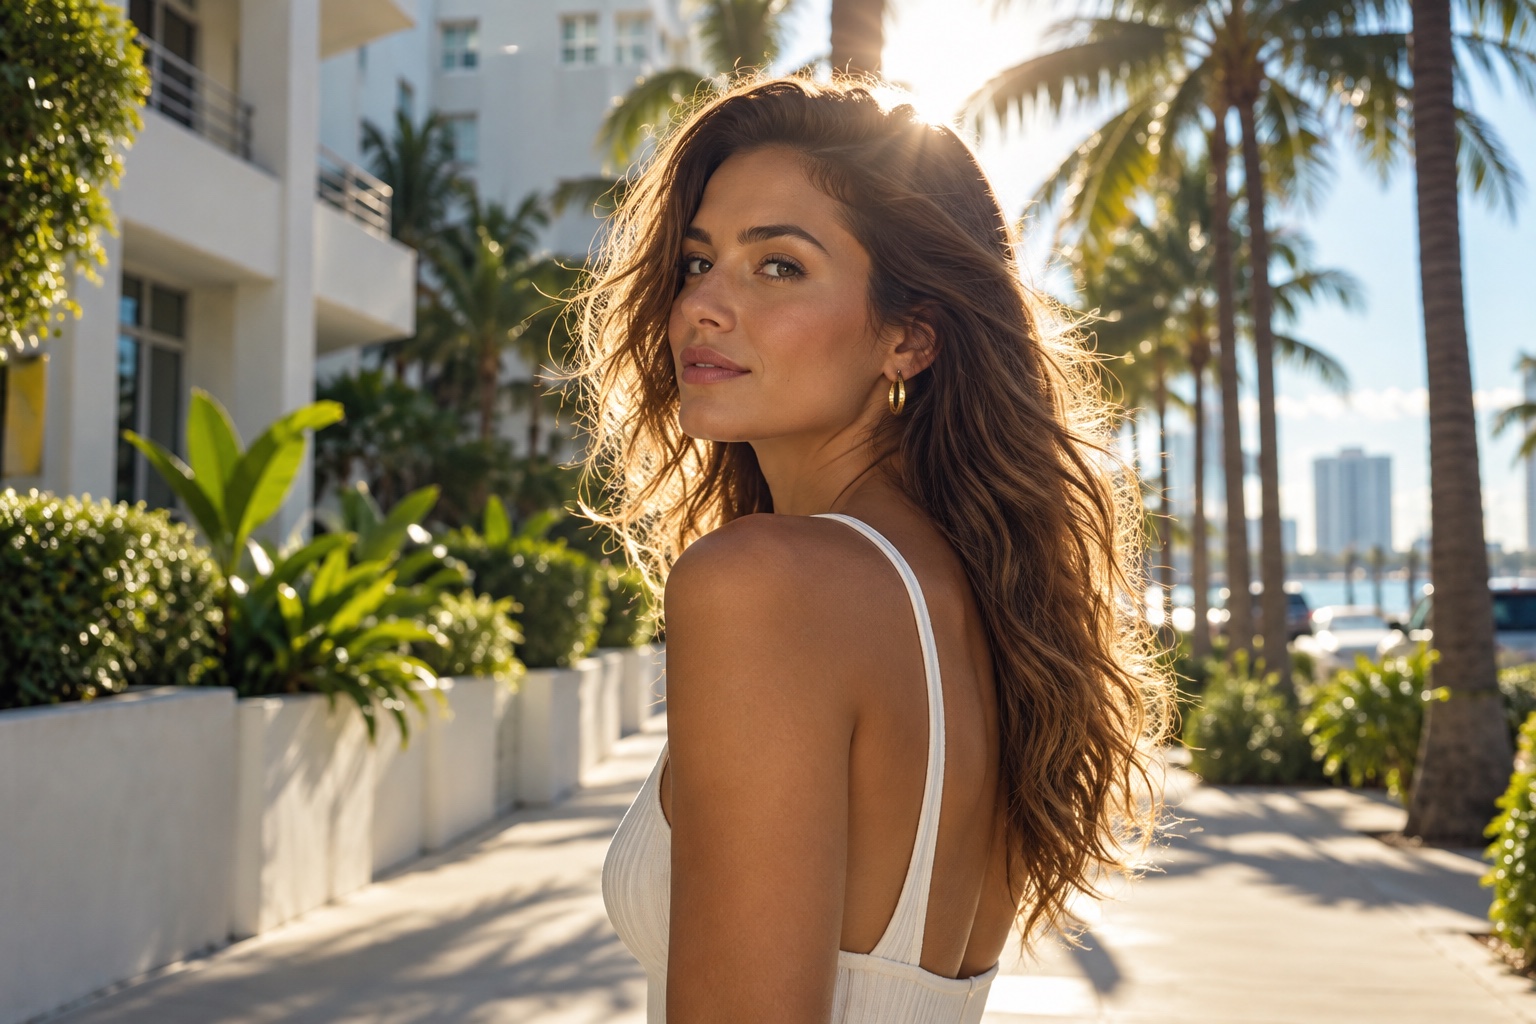
Use the visual break to study the light direction before changing the gear.
3. A $30 reflector beats a $300 light on a sunny day
In full Miami sun, a basic 5-in-1 collapsible reflector will often do more for a portrait than a speedlight. Bounce the gold side up at the face from below chest height and you instantly reduce raccoon eyes. Use the white side when gold gets too warm. Use the black side to subtract light and add shape when the bounce is too flat.
Keep it cheap and light. The wind on Biscayne Bay will try to steal it, so bring an assistant or sandbag, or learn to wedge it under your bag.
GEAR / Reflector before flash
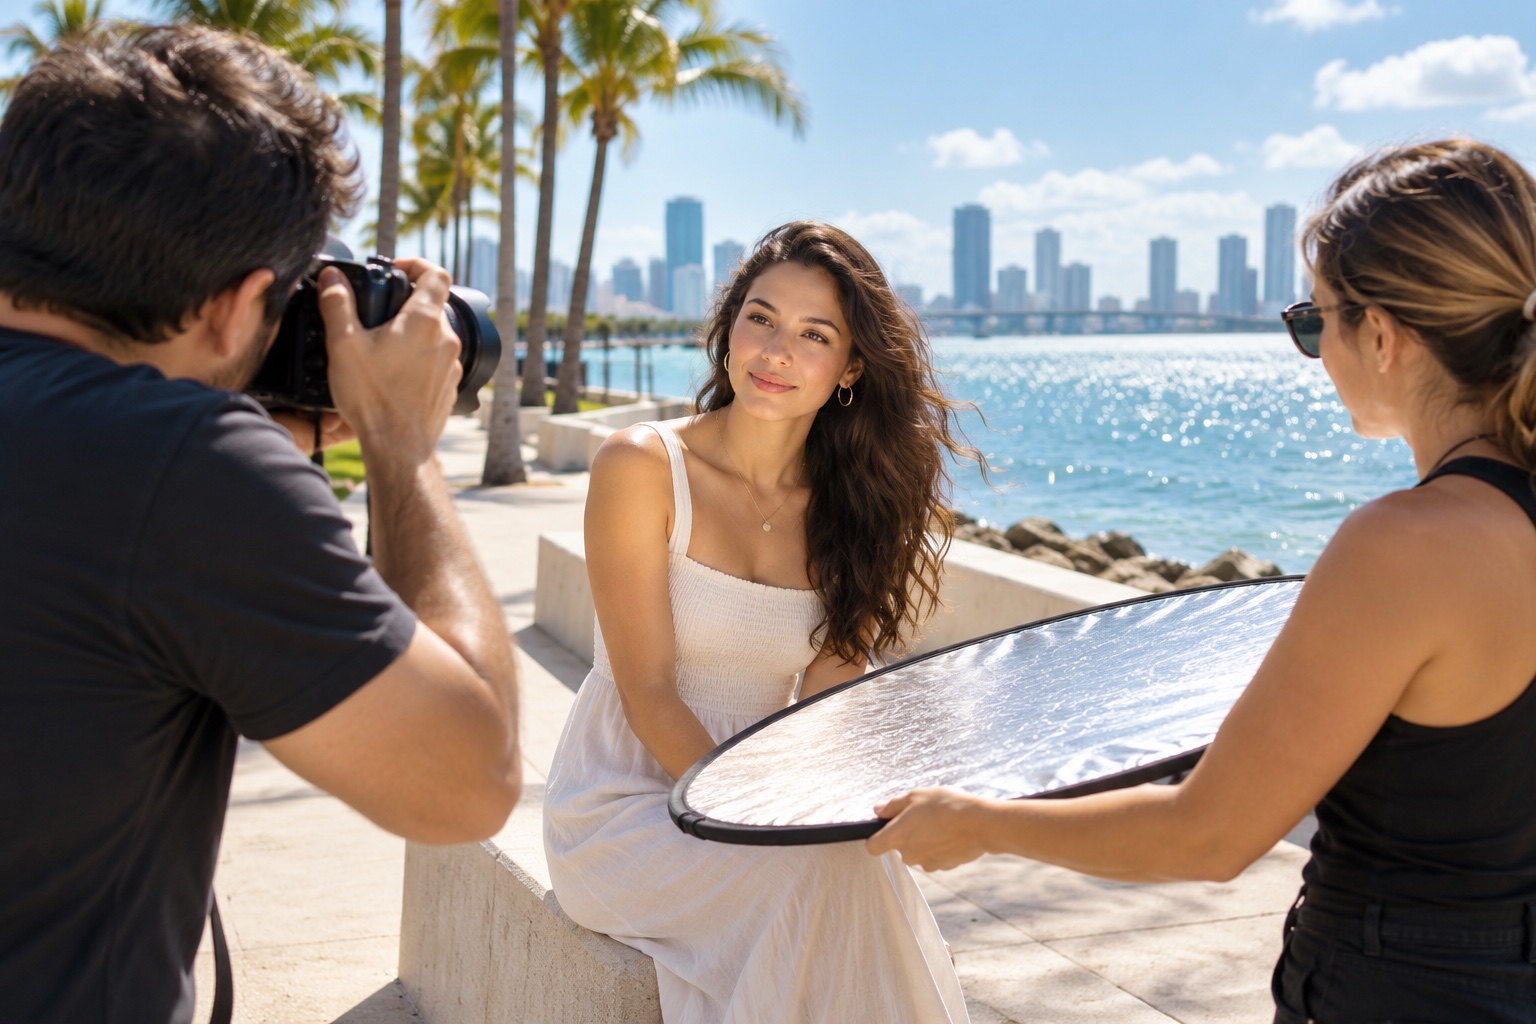
Use the visual break to study the light direction before changing the gear.
4. Overpower the sun with one strobe and a high shutter speed
When I want drama—deep blue sky, sharp contrast, and an editorial punch—I put one strobe on the subject and use high-speed sync to keep the shutter fast enough to darken the sky.
You do not need a studio setup. One speedlight or compact strobe on a stand is enough. Dial your exposure to hold the sky, then add flash until the face looks right. Keep the power modest and make small changes; once the balance is set, every frame looks intentional.
TECHNIQUE / One strobe, held sky
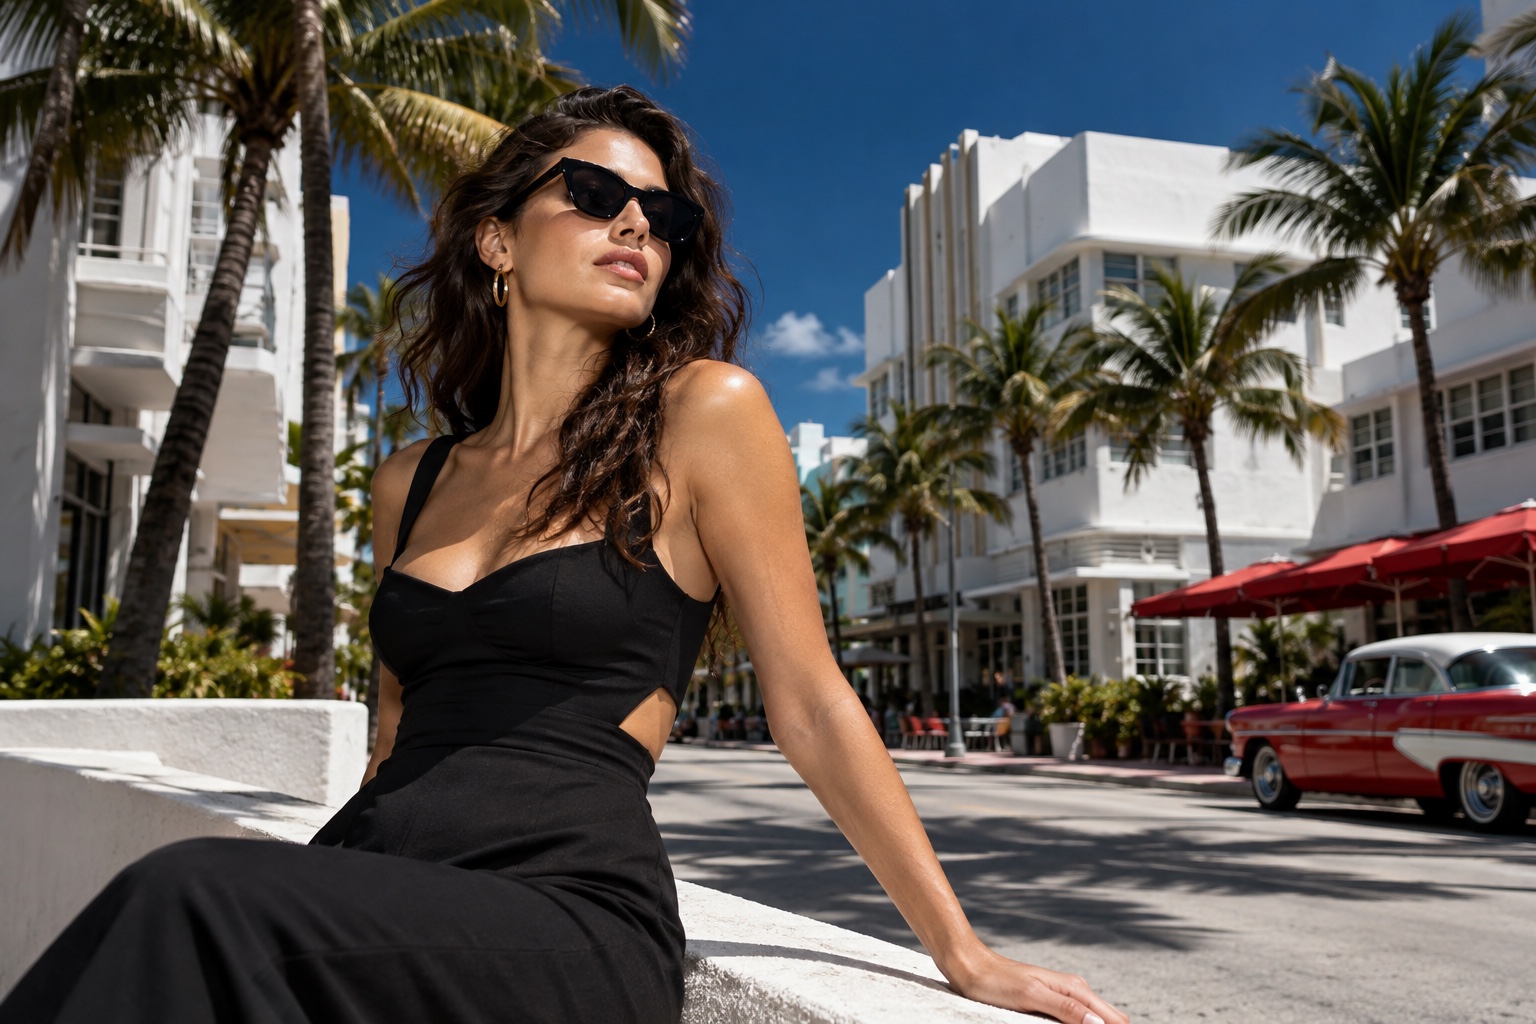
Use the visual break to study the light direction before changing the gear.
5. Find the in-between light: doorways, overhangs, and tree canopies
Miami is full of free softboxes if you know where to look: covered arcades along Collins Avenue, banyan trees in Coconut Grove, and parking structures in the Design District.
This is less a technique than a mindset. Before every shoot, scout for pockets of directional shade within a five-minute walk. List a primary spot plus two backup shaded locations nearby, with the sun angle at shoot time factored in. If the first spot is packed, you will not be improvising in the heat while the client watches.
LOCATION / Free softboxes in the city
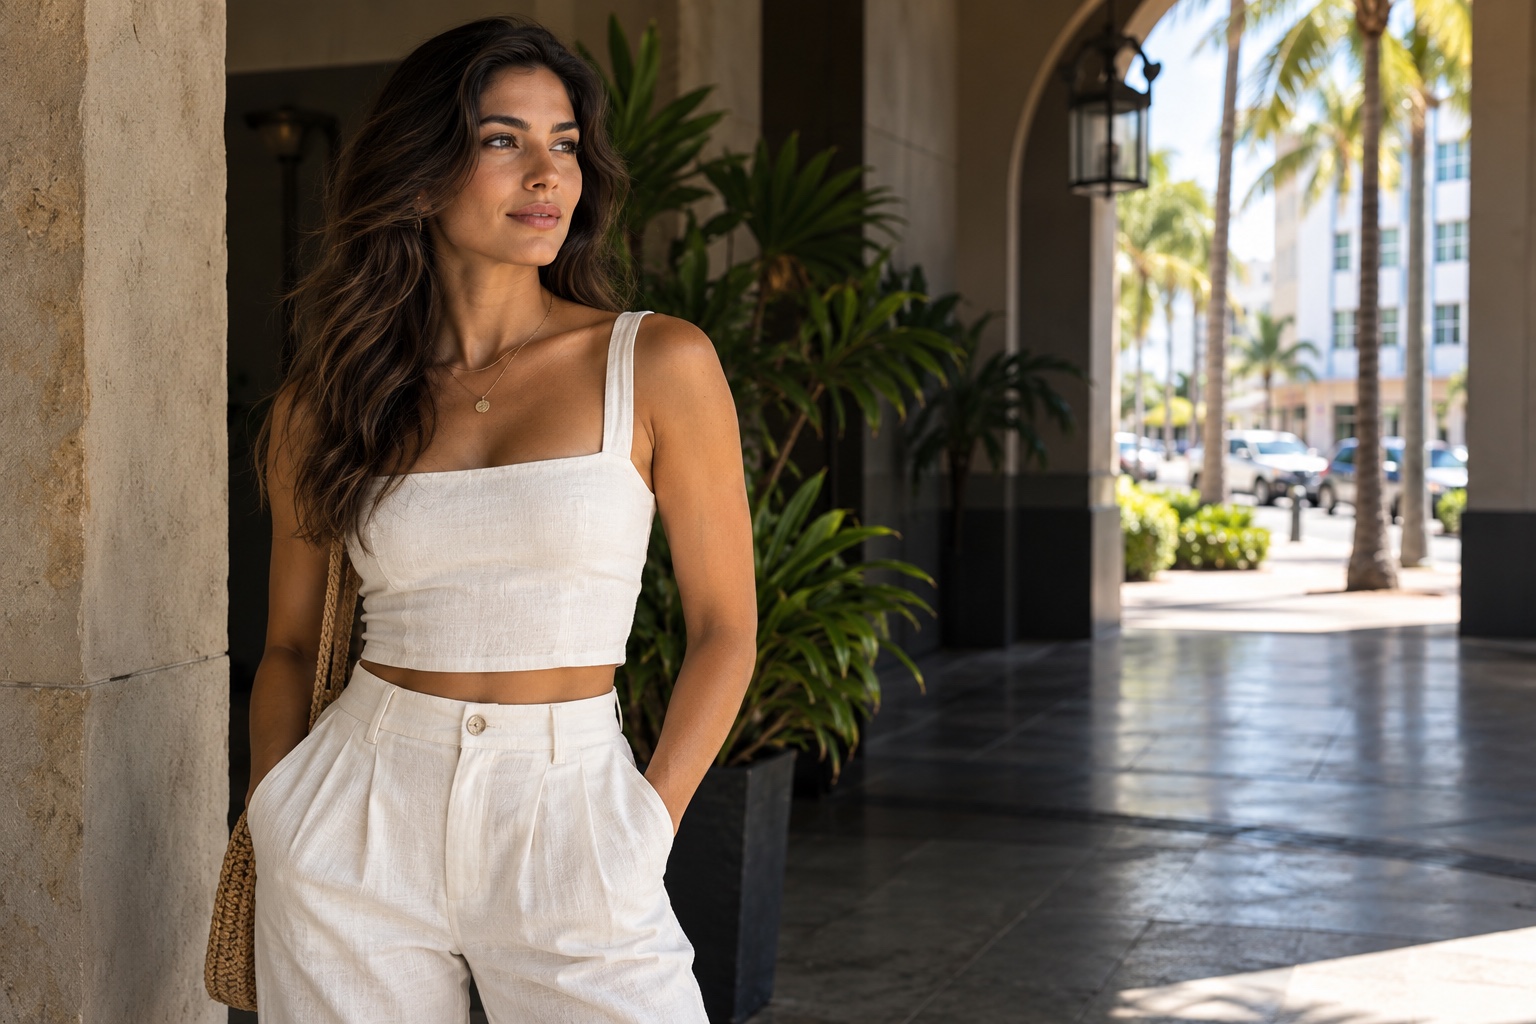
Use the visual break to study the light direction before changing the gear.
6. Embrace the hard shadow and shoot it like a film still
Sometimes the move is not to fix harsh light. It is to commit to it. Hard shadows across a wall in Wynwood, a stark silhouette against a white Art Deco facade, or venetian-blind stripes from a storefront can stop the scroll because they look like cinema, not content.
Keep the subject still and let the shadows do the work. Slight underexposure—about a third to two-thirds of a stop—deepens the shadows and makes the highlights feel intentional instead of blown.
LOOK / Hard shadow, film-still energy
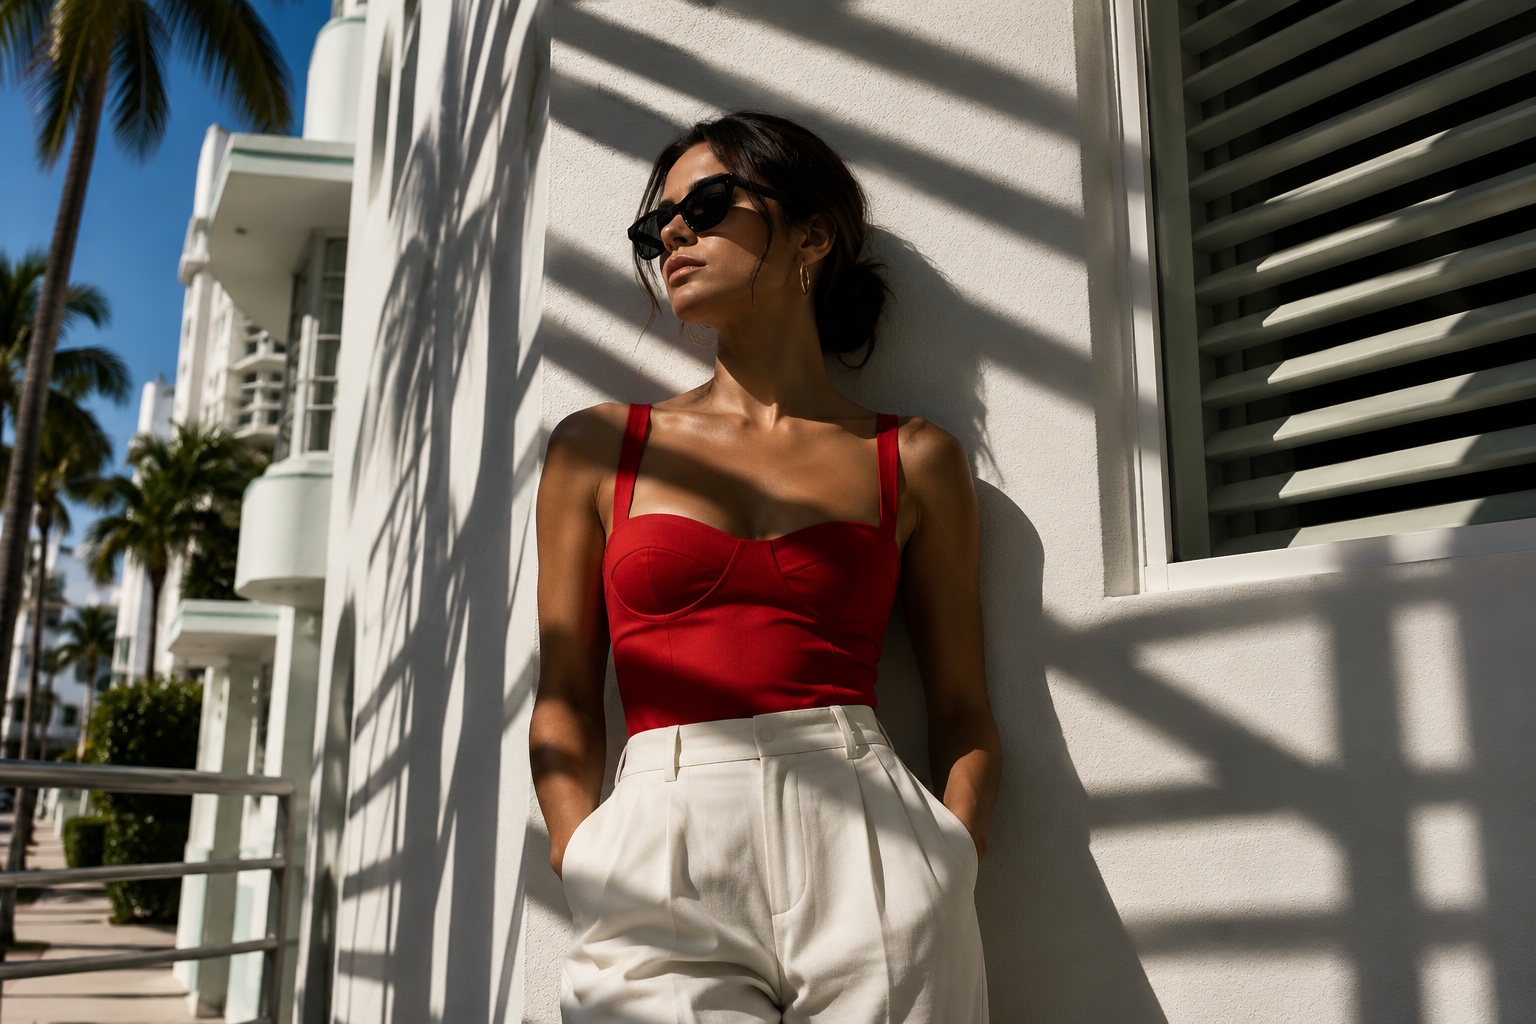
Use the visual break to study the light direction before changing the gear.
7. Fix the white-balance lie the sun tells you
Miami midday sun is blue. Daylight white balance around 5500–6500K can flatten warm skin tones, making portraits look clinical or washed out. Nudge the white balance warmer, toward 6000–7000K, or set it manually in-camera.
In Lightroom, the calibration panel can help restore the warmth the midday sun stole. Shoot RAW so this is a controlled adjustment in post instead of a rescue mission.
TECHNIQUE / Warm the daylight back into skin
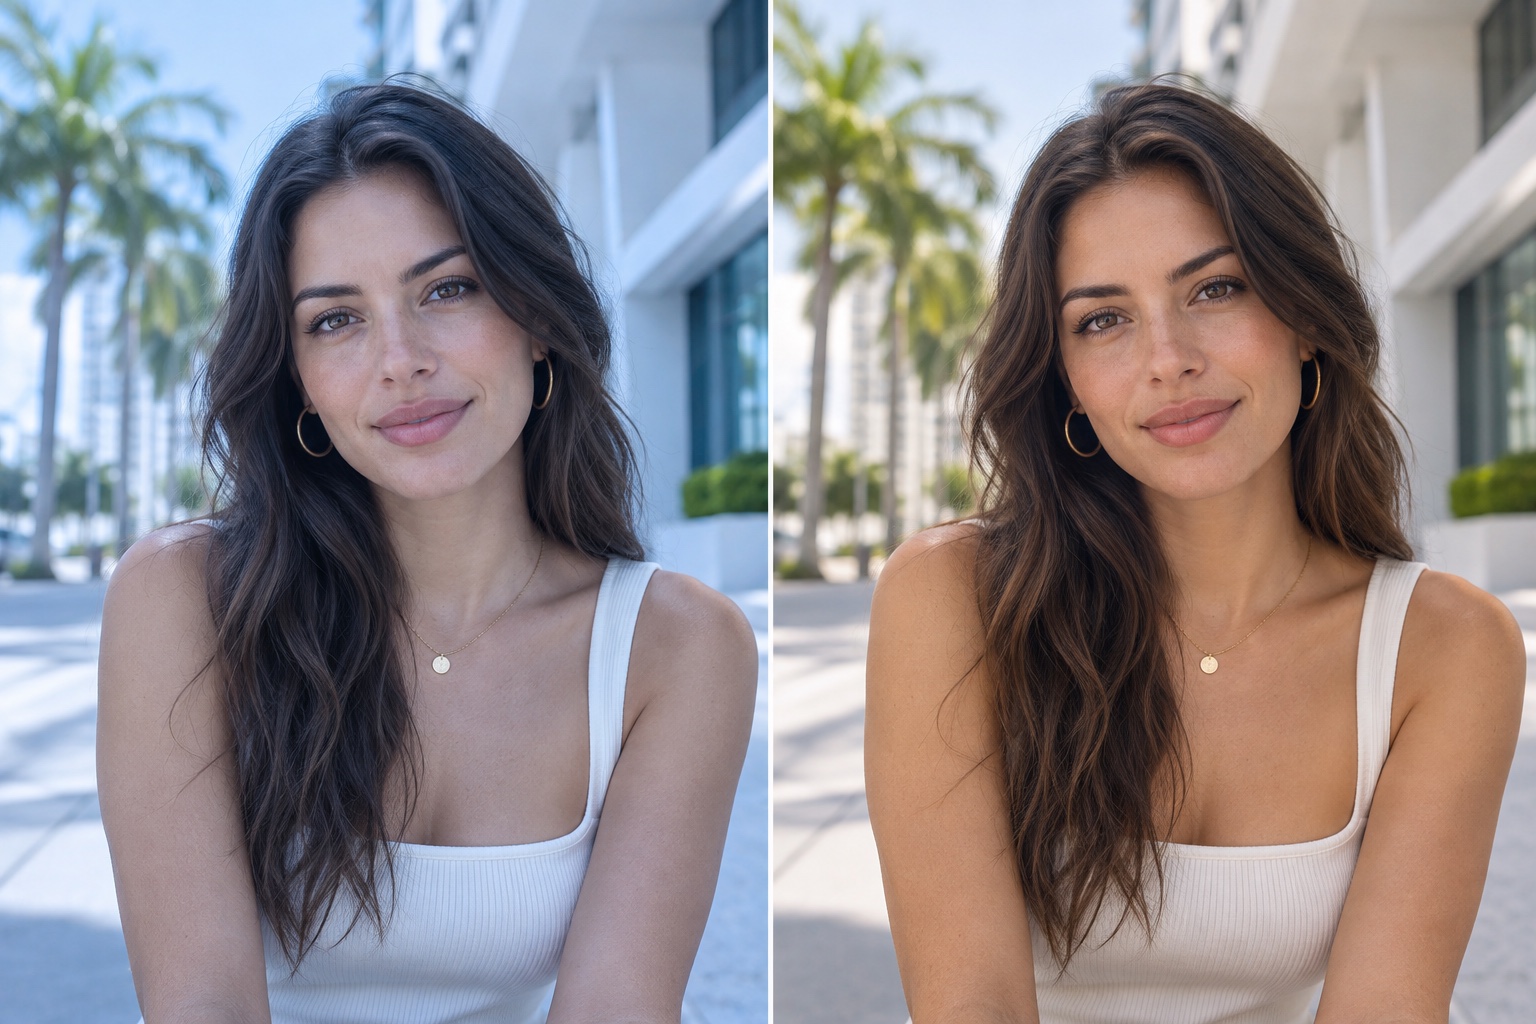
Use the visual break to study the light direction before changing the gear.
The bottom line
Stop scheduling your life around the sun and start building a plan for it. Shade, reflectors, one strobe, smart locations, hard shadows, and a warmer white balance will carry you through the harshest part of the day.
The photographers who can shoot at noon are the photographers who can shoot anytime—and clients notice that.
At Flicks by Ed Media, I plan every shoot around the light, not around the clock. You bring the vision. I’ll create the moment.
Keep building the light
Build the rest of the shoot with One Light, Expensive Look, use Photography Composition for Portraits to place the subject, and explore the portrait and video services.