GUIDE 04 / Lighting
One Light, Expensive Look: A Portrait Lighting Setup That Does More With Less
Learn a practical one-light portrait lighting setup for flattering, dimensional photos using one flash or strobe, a soft modifier, smart placement, and simple posing direction.
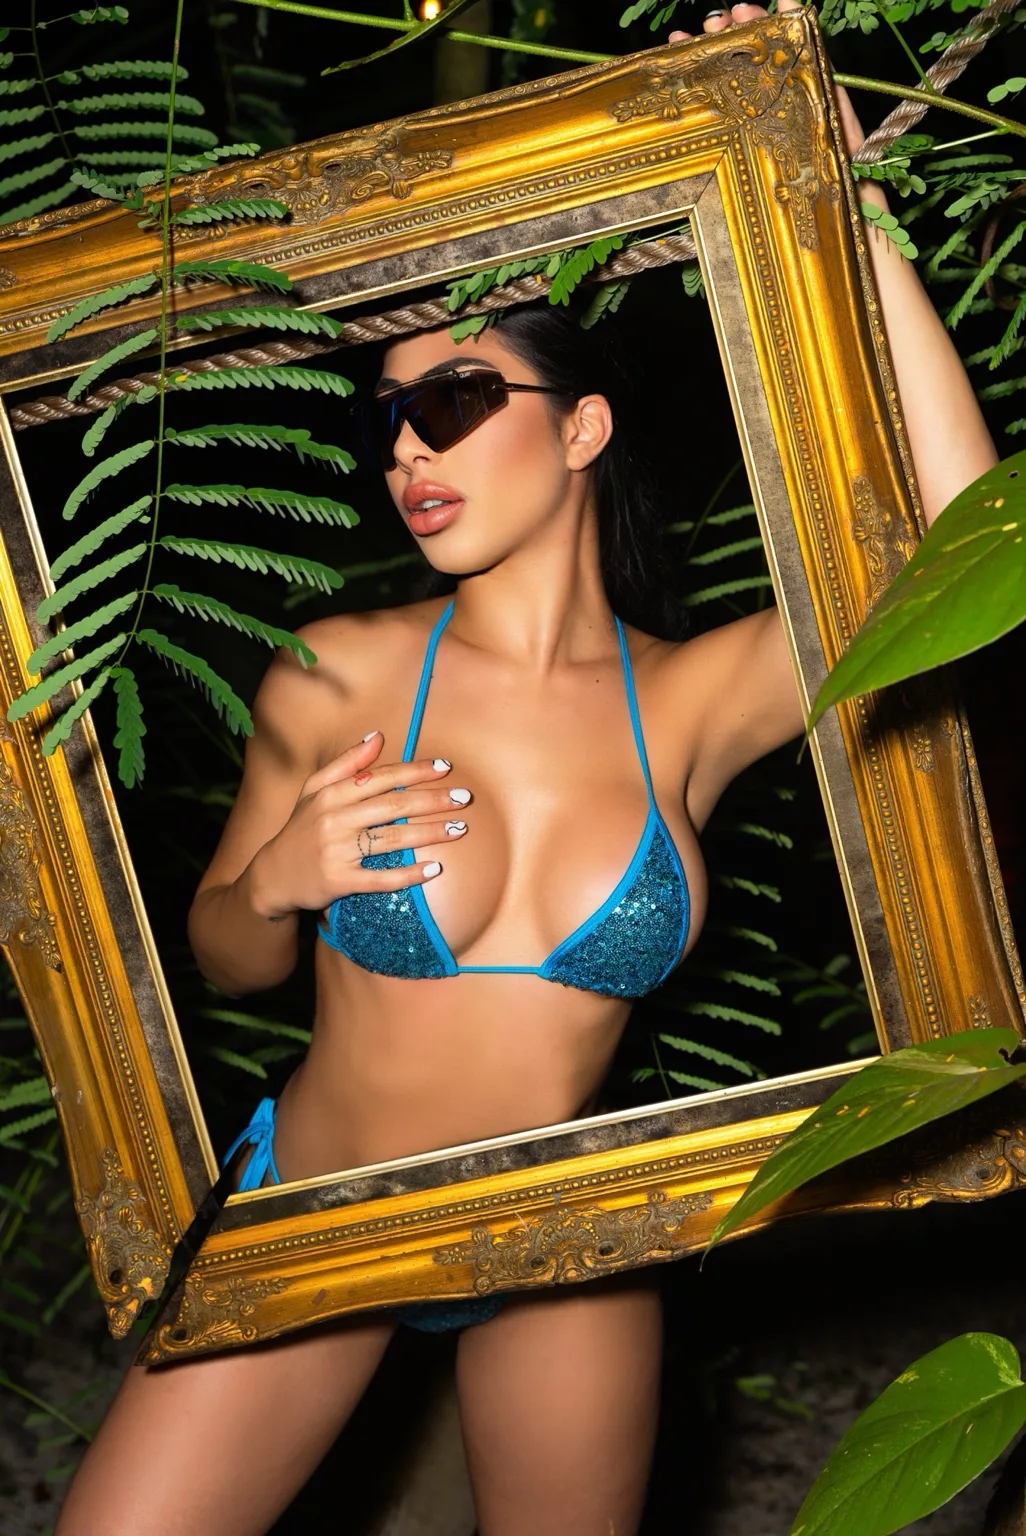
You do not need a studio full of lights to make a portrait feel polished.
A single well-placed source can create soft skin, shape the face, separate the subject from the background, and leave enough shadow to keep the image from feeling flat. The trick is not buying more lights. It is learning what one light is actually doing.
This setup is useful for lifestyle portraits, birthday sessions, headshots, creator content, and small-location shoots where speed matters.
1. Start with one large, soft source
Begin with a softbox, umbrella with diffusion, or another modifier that makes the apparent light source large relative to the subject. Soft light produces gentler transitions between highlight and shadow.
Place the light close enough that it feels large from the subject’s point of view. A close modifier can produce softer light and quicker falloff, helping the face feel luminous while the background stays moodier.
TECHNIQUE: Before changing flash power, move the light. Distance and angle often change the photograph more dramatically than another tenth of a stop.
2. Put the key light around 45 degrees—then watch the face
A classic starting position is approximately 45 degrees to one side of the subject and slightly above eye level. This creates dimensional cheek and nose shadows without turning half the face into darkness.
But 45 degrees is a starting point, not a law. Have the subject turn a few degrees toward and away from the source. Watch the catchlights, the shadow under the nose, and how the cheekbone changes.
If the shadow side feels too heavy, move the light closer to camera axis or add a white reflector opposite the key. If the image feels too flat, move the light farther to the side or use black negative fill to absorb bounce.
3. Feather the light instead of aiming it straight at the face
Rotate the modifier slightly so the softer edge of the beam crosses the face. This helps control hotspots, reduce spill on the background, and make the transition across the skin feel more refined.
LIGHTING: If the forehead or near cheek is too bright, try feathering the modifier past the subject before lowering the entire exposure.
4. Control the background with distance
Move the subject and light farther from the background and allow less spill to reach it: the background becomes darker. Bring the setup closer to a light-colored wall and let more illumination spill behind the subject: the background becomes brighter.
For environmental portraits, expose the room or outdoor background first, then introduce flash for the subject. This keeps the flash from erasing the atmosphere.
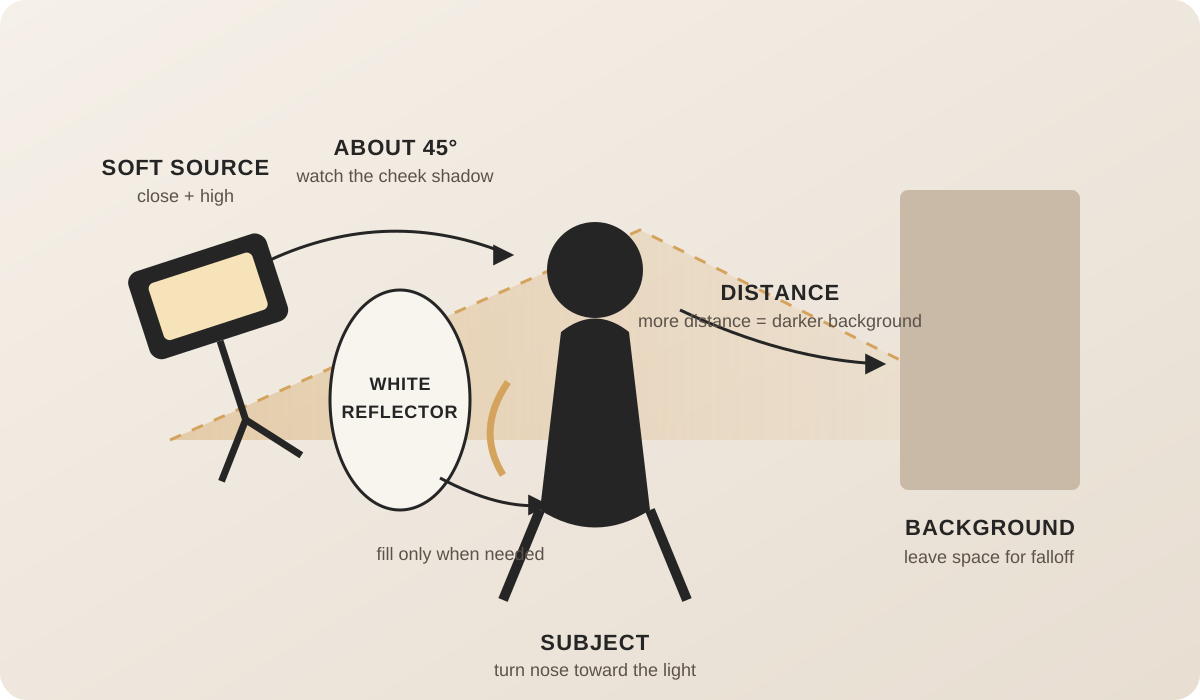
A repeatable starting point for shaping the face while keeping the background under control.
5. Use a reflector only when the image needs it
If the shadow side is too dark, place a white reflector near the subject opposite the key. For more drama, use a black surface on the shadow side to subtract bounced light. Good lighting is not always about adding illumination; sometimes the cleanest move is removing it.
6. Direct the subject into the light
Lighting and posing should be designed together. Ask the subject to turn the nose slightly toward the source, then bring the eyes back to camera. Have them rotate the shoulders away while keeping the face connected to the light.
POSE: Use verbs—turn, lean, adjust, step, look back—instead of asking clients to manufacture a pose from scratch.
7. A simple starting exposure
There is no universal exposure because flash power, modifier size, room brightness, lens choice, and creative intent all change the result. Start in manual exposure, choose the aperture for the depth of field you want, keep ISO reasonably low when flash power allows, and stay within your camera’s normal flash-sync range unless you intentionally need high-speed sync.
For mixed ambient and flash, establish the ambient background exposure first, then add enough flash to shape the person. The result feels more connected to the environment than overpowering everything behind them.
8. Three looks from the same light
Look one—clean and flattering
Large modifier close to the subject, 30–45 degrees off camera and slightly above eye level. Add a white reflector if needed. Great for headshots, beauty, birthdays, and client portraits.
Look two—moody and editorial
Move the light farther to the side, feather it across the face, and use black negative fill on the opposite side. Let the background fall darker. Great for musicians, fashion, dramatic lifestyle work, and personal branding.
Look three—environmental
Expose the location first. Place the light so it follows the believable direction of the existing light, then raise flash only enough to give the subject shape and presence. Great for outdoor portraits, nightlife, hotel interiors, and creator work. One source. Three different photographs.
9. The most common one-light mistakes
Do not place the modifier too far away, light the person without watching the background, or solve every problem with power. Inspect direction, distance, height, feathering, and subject position first. Give a moving client a working zone, not just a pose.
Final take
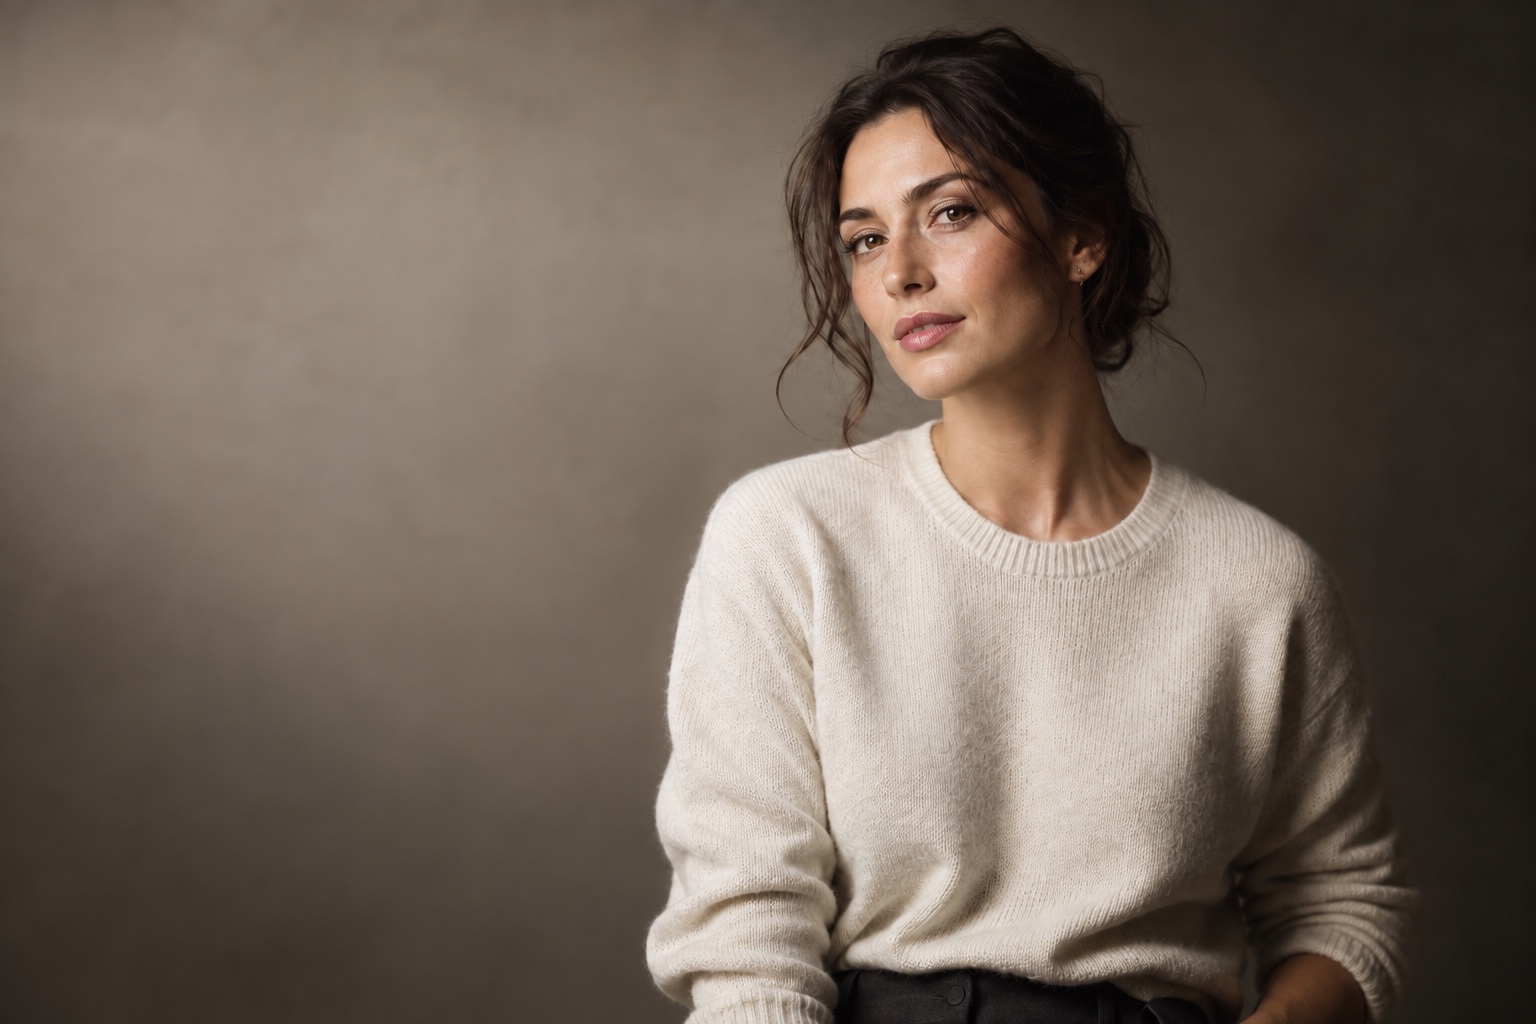
The look stays intentional because the source direction, distance, and background exposure are working together.
A one-light portrait setup is not the beginner version of “real” lighting. It is one of the clearest ways to learn control. Every change becomes visible, and that understanding transfers directly into larger productions later.
For clients, the technical language is not the point. The point is a portrait that feels intentional, flattering, and like them.
At Flicks by Ed Media, direction and lighting work together. The equipment supports the moment; it does not replace it.
You bring the vision. I’ll create the moment.
Ready to plan a portrait session?
Then check availability for a portrait, birthday, lifestyle, or creator session with Flicks by Ed Media.