GUIDE 07 / Editing / Color
Lightroom Masking Workflow: How to Edit Portraits Faster Without Making Them Look Fake
Learn a practical Lightroom masking workflow for cleaner, consistent portrait edits—from subject and background masks to skin, color, and batch adjustments.
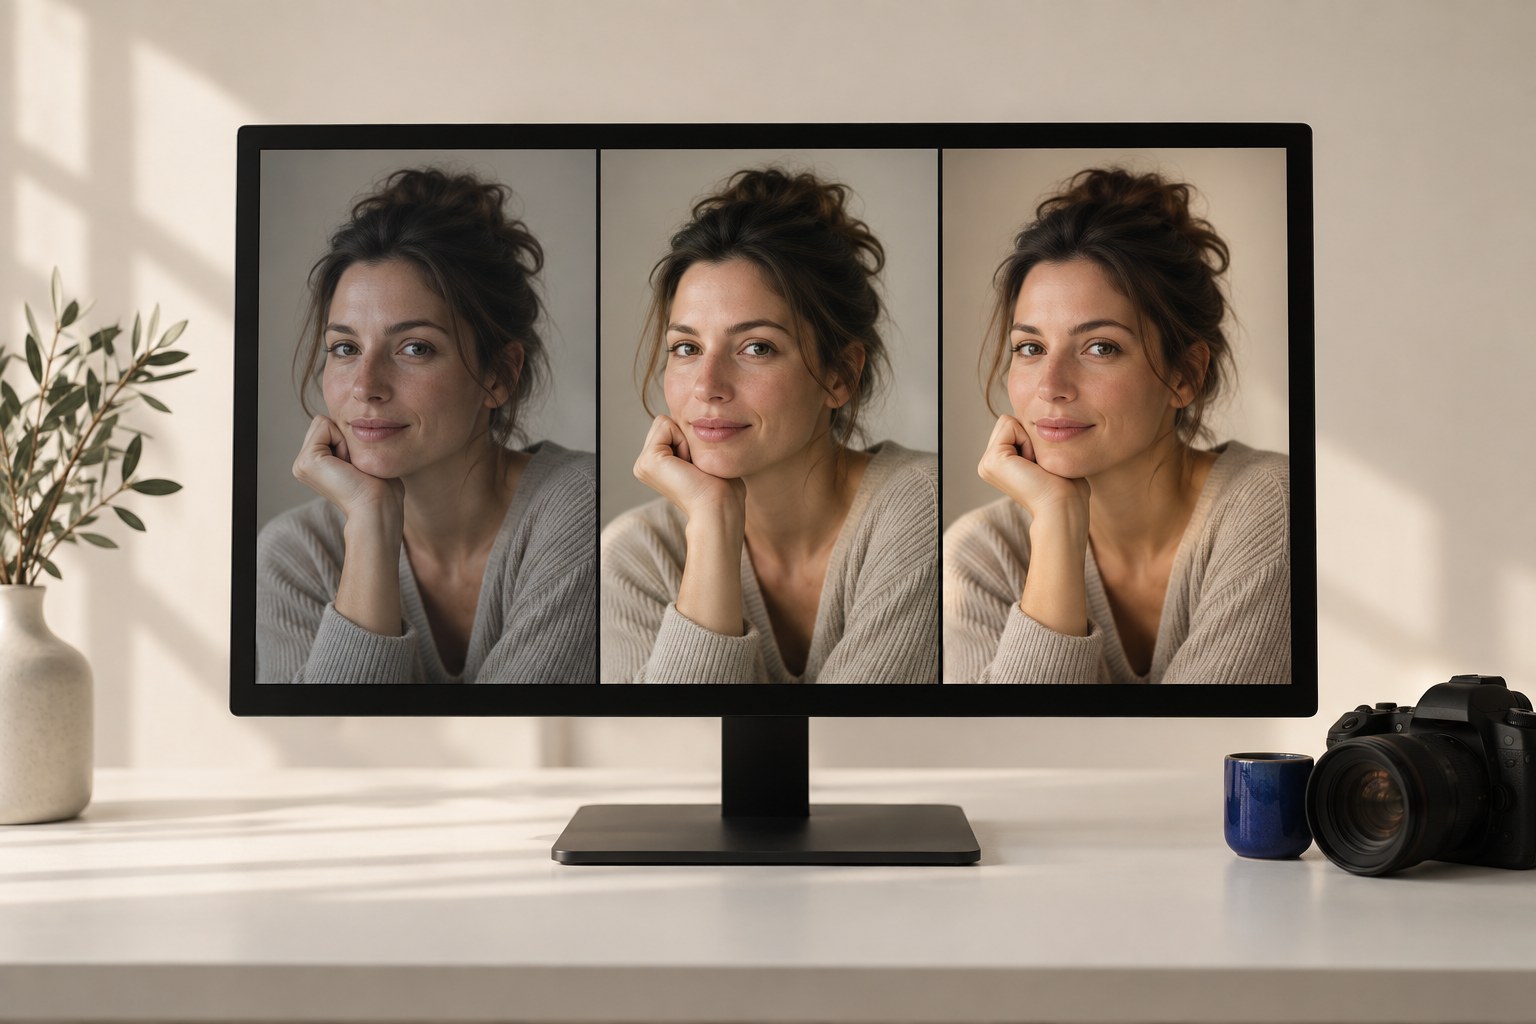
The best portrait edits usually do not announce themselves. Skin still looks like skin. The background supports the person instead of competing with them. Color feels intentional from image to image, and the finished gallery looks cohesive without every frame feeling copied and pasted.
That is where masking becomes useful. Instead of pushing global sliders until the whole photograph changes, Lightroom lets you isolate areas and adjust them independently. Current Lightroom tools include AI-powered Subject, Sky, Background, Objects and People selections alongside Brush, gradient and range-based masks.
For a working photographer, the bigger win is not the novelty of AI. It is building a repeatable order of operations.
1. Get the global edit right first
Before creating a stack of masks, make the photograph work globally. Start with white balance, overall exposure, highlight and shadow recovery, black and white points, broad contrast, overall color direction, and crop or lens corrections when needed.
The goal is a solid base image. If the photograph only works after six rescue masks, the global edit probably needs another look. Masks should refine the hierarchy of the photograph, not repair every decision made during capture.
LOOK / Base correction to final masked edit
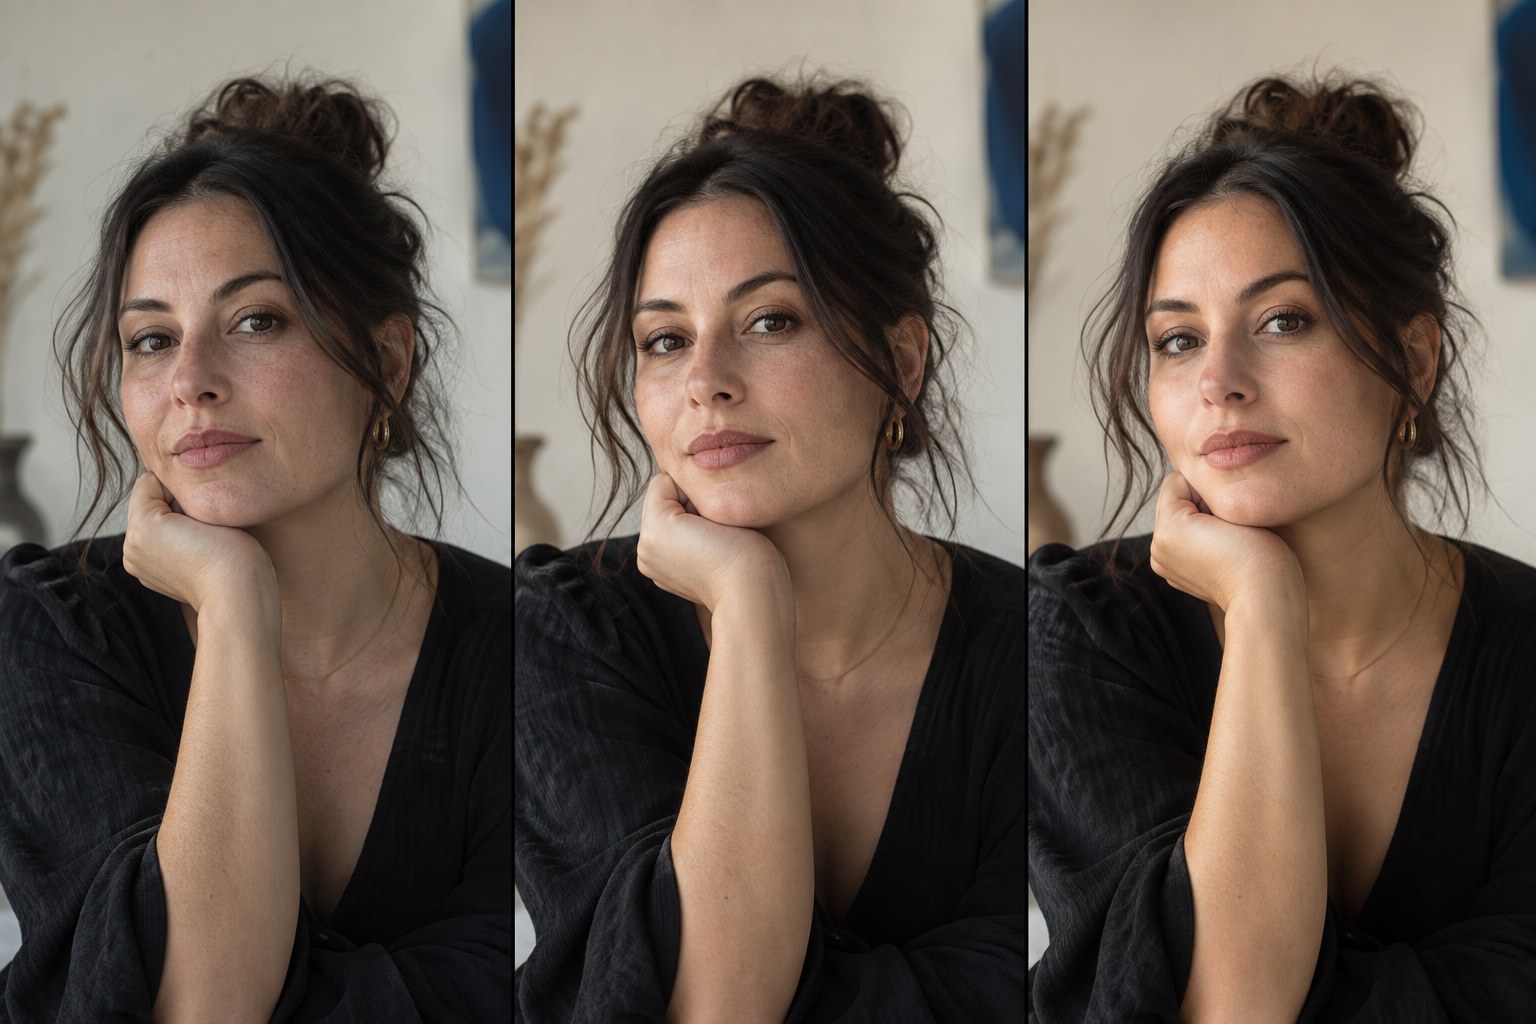
Use the visual break to compare the edit with the photograph, not with the effect.
2. Build subject–background separation
Create a Subject mask first and inspect the overlay rather than trusting it blindly. Refine edges when needed. Then ask: does the person need to come forward, or does the environment need to calm down?
Small subject adjustments can include exposure, shadows, white balance, texture, or saturation. Keep the moves restrained. Then work on the background separately. This is often cleaner than throwing a heavy vignette over the entire frame.
TECHNIQUE / Subject to background separation
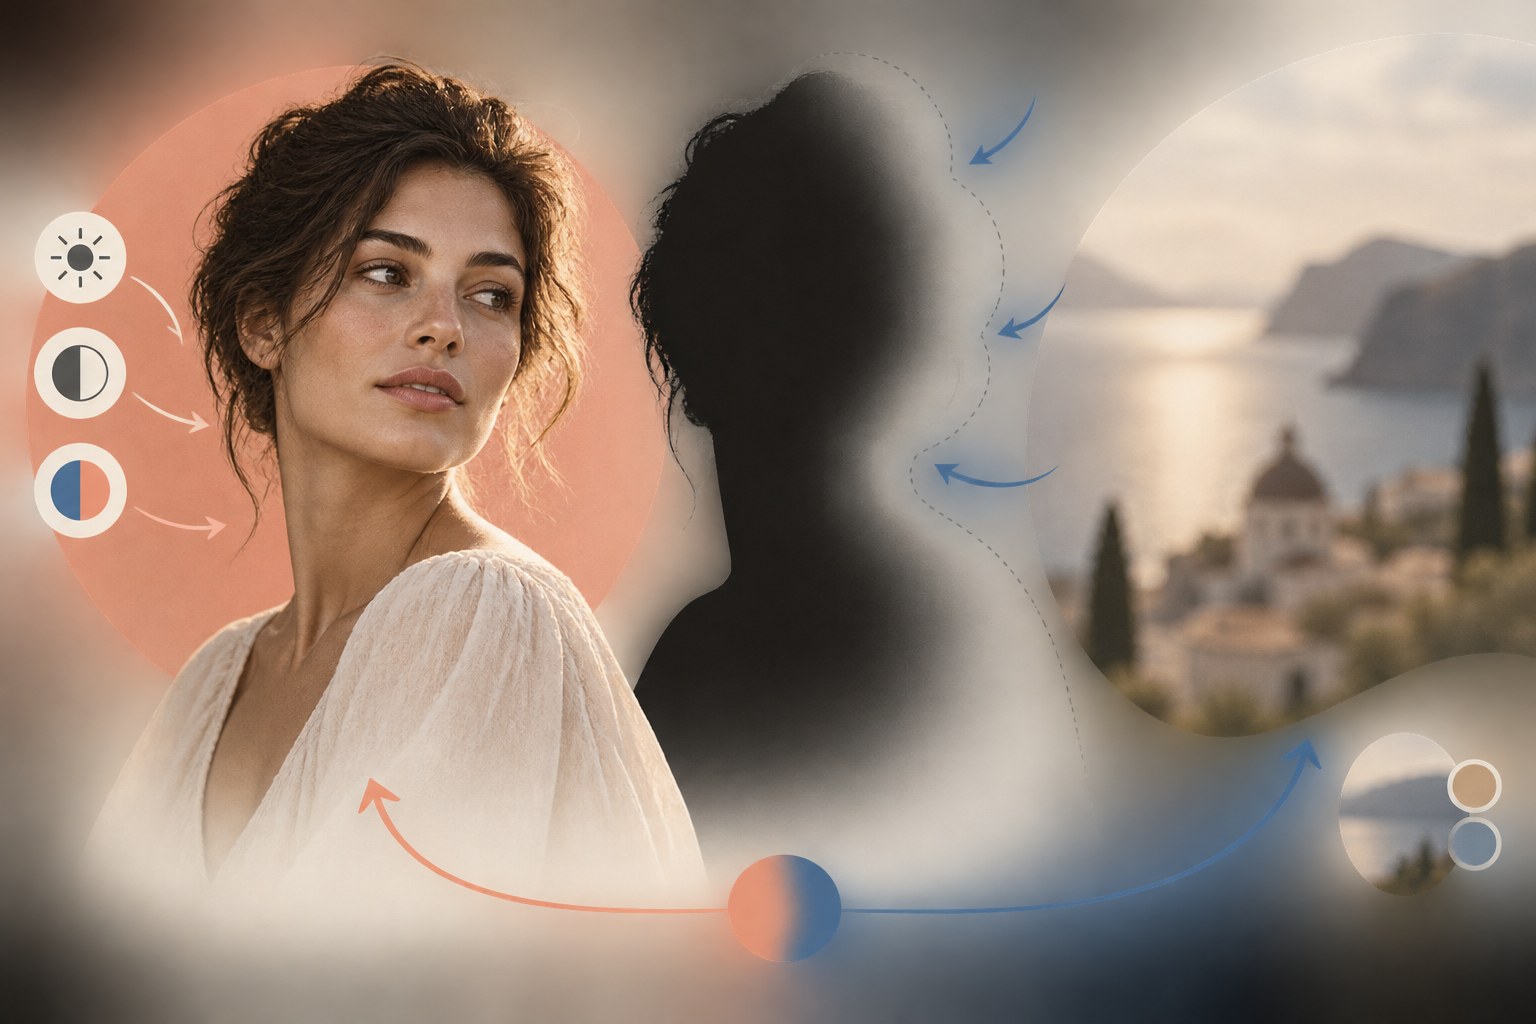
Use the visual break to compare the edit with the photograph, not with the effect.
3. Use People masking for control, not plastic skin
People masking can speed up portrait work because it can identify a person and offer targeted regions. But speed is exactly why restraint matters. Do not treat every available facial selection as something that needs an adjustment.
Start with the image’s actual problem. Maybe the face is slightly darker than the body. Maybe mixed lighting pushed the skin too warm. Maybe the clothes need to be held back so the face remains the visual anchor.
Texture is information. Removing all of it can make a photograph look synthetic. For client portraits, the philosophy is simple: polish what the camera exaggerates; preserve what makes the person look like themselves.
LOOK / Preserve natural skin texture
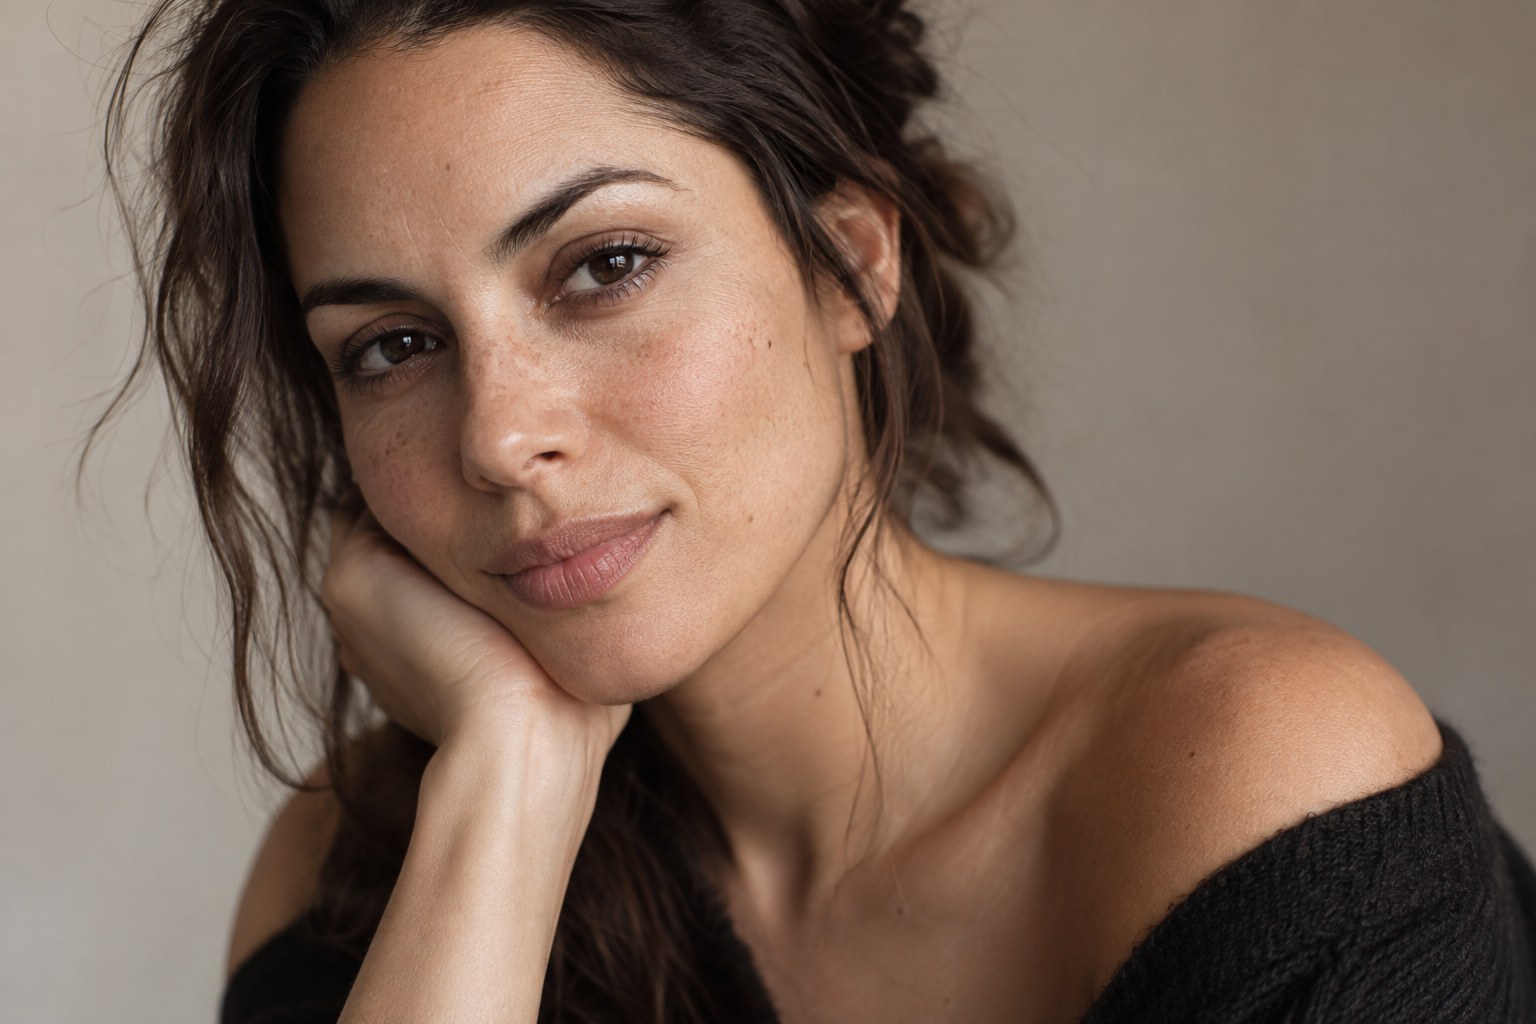
Use the visual break to compare the edit with the photograph, not with the effect.
4. Control color with Color Range
When one color is stealing attention, do not automatically desaturate the entire photograph. Lightroom’s Color Range mask can isolate sampled colors and refine the selected range, making it useful for targeted color correction without changing the whole image.
Try it for overly bright clothing, neon signs, colored walls, foliage reflecting onto skin, venue lighting, or a background color that needs to fit the grade. Sample the problem color, inspect the overlay, refine the range, then make the smallest adjustment that solves the distraction.
This is especially useful in Miami, where one frame can contain saturated murals, teal water, magenta signage, tropical greens and warm skin all at once.
TECHNIQUE / Control one distracting color

Use the visual break to compare the edit with the photograph, not with the effect.
5. Use Luminance masks to shape light
A luminance-based mask selects areas according to brightness rather than object identity. Use it when the photograph needs tonal shaping across highlights, midtones, or shadows without painting every edge manually.
Examples include pulling attention away from a bright corner, softening a dominant highlight, opening a shadow region without lifting every black in the photograph, or guiding the eye toward the face.
Think of it as finishing the lighting in post rather than simply making the whole frame brighter. Keep the transition believable: the viewer should feel the hierarchy before noticing the technique.
LIGHTING / Luminance mask and finished portrait
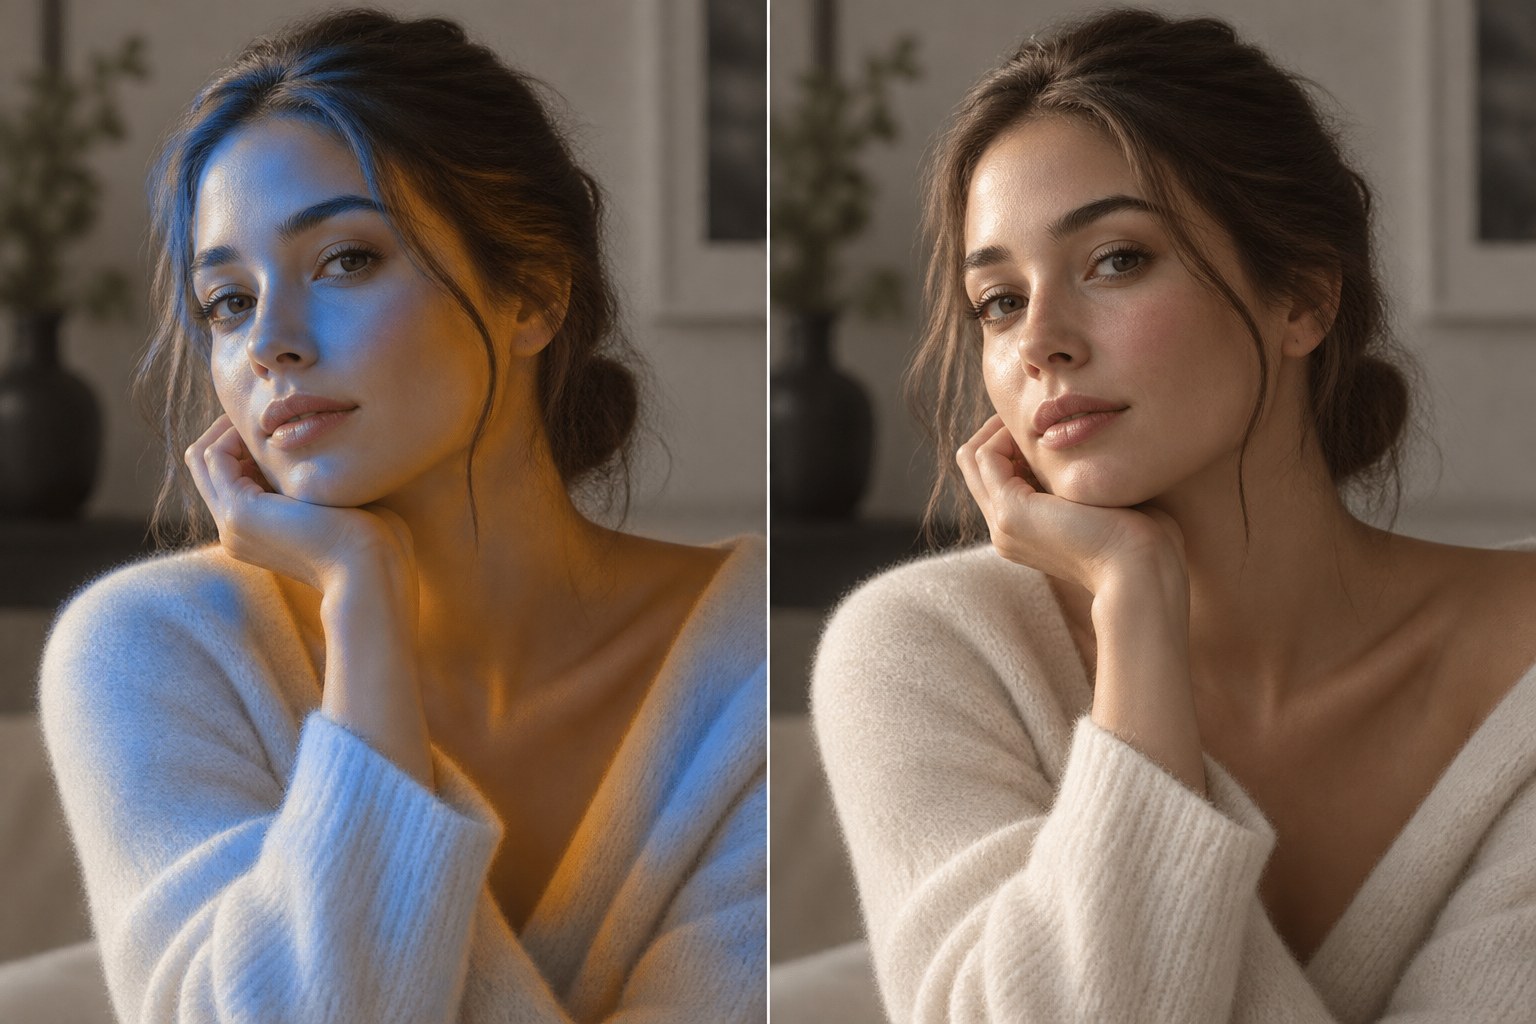
Use the visual break to compare the edit with the photograph, not with the effect.
6. Refine edges before pushing the edit
Adobe’s August 2026 Lightroom desktop update added Feather and Edge controls for refining masks. Feather controls transition softness; Edge helps control how closely a mask follows boundaries.
The visual lesson is simple: selection quality matters more as adjustment strength increases. If you darken a background aggressively around a person and the mask edge is poor, halos appear. Hair is especially unforgiving.
Zoom in, inspect the transition, and refine the selection before making a dramatic move. A clean subtle mask usually beats a strong sloppy one.
7. Build a repeatable portrait mask stack
For a typical environmental portrait, try this order:
- Global base correction
- Subject mask — subtle exposure and color refinement
- Background mask — reduce competition
- People mask — only where a specific correction is justified
- Color Range — tame or enhance one distracting or supporting hue
- Luminance or gradient mask — finish the light
- Final global check — make sure the masks still belong to the same photograph
The exact sliders should change from shoot to shoot. The workflow can remain consistent even when the numbers do not.
TECHNIQUE / Seven-step mask stack
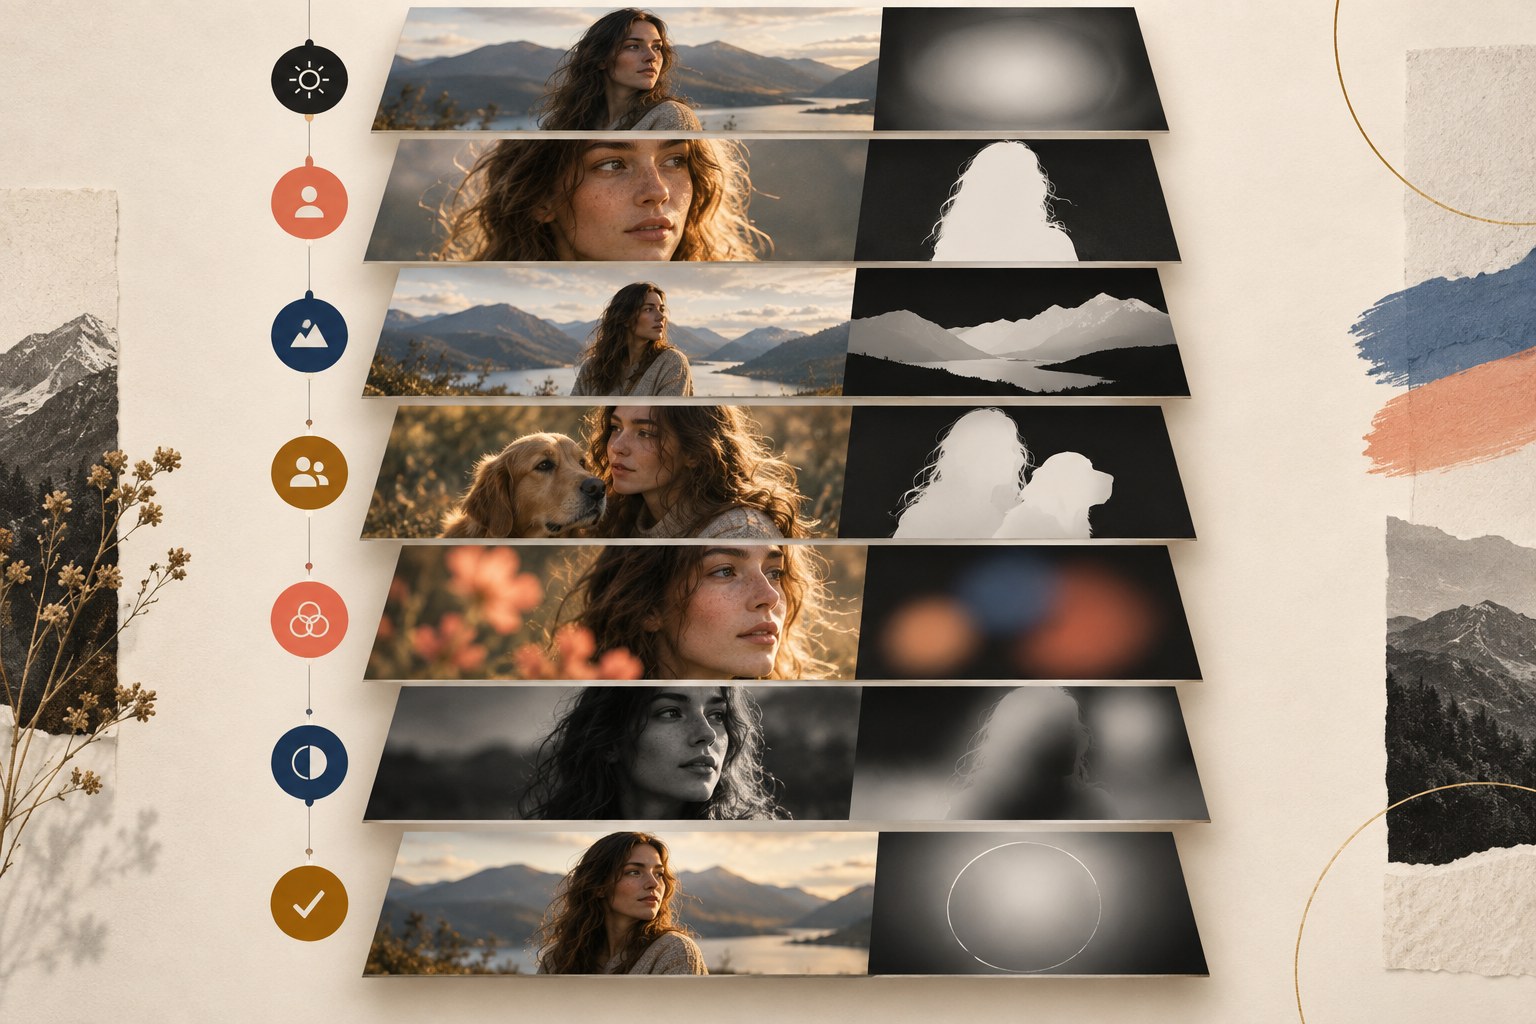
Use the visual break to compare the edit with the photograph, not with the effect.
8. Batch smarter, then review individually
Consistency does not mean identical settings. Current Lightroom workflows can copy edits with supported masking settings across multiple images. That can accelerate a gallery, but every frame still deserves inspection because pose, crop, background, light direction and subject position change.
Use synchronization to establish the rhythm of a set. Then review the photographs individually.
For event and lifestyle work, this distinction matters even more. One sequence might move from window light to stage LEDs to direct flash within minutes. Efficiency should shorten repetitive work, not remove judgment.
9. Run the natural check
Before export, toggle the masks and ask:
- Does the person still look like themselves?
- Did I create a halo around hair or clothing?
- Is the face unnaturally brighter than the body?
- Did skin become flatter than the rest of the photograph?
- Is one color now suspiciously muted?
- Does the image still make sense with the original direction of light?
- Does this frame belong beside the rest of the gallery?
If an edit calls attention to the technique instead of the photograph, pull it back.
Lightroom masking workflow FAQ
What is masking in Lightroom?
Masking isolates a subject, background, color, brightness range, or manually painted area so adjustments affect only that part of the photograph. It gives a portrait editor local control without forcing the entire frame through the same correction.
Should you use AI masks on every portrait?
No. Use an AI mask when it solves a clear problem faster than a manual selection. Inspect the overlay, refine the edge, and remove the mask when the global edit already works.
How do you keep Lightroom edits natural?
Start with a balanced global correction, make small local adjustments, preserve skin texture, and check the transition around hair, clothing, and the background at a closer zoom before export.
Can Lightroom masks be copied to multiple photos?
Supported mask settings can be synchronized across a set, but each image still needs individual review. Differences in pose, crop, light direction, and background can change whether the copied selection fits.
Final take
Modern masking can make portrait editing dramatically more precise, but precision is not the same thing as taste.
The strongest workflow starts with a good capture, builds a clean global edit, and then uses masks only where they improve hierarchy, color, light, or consistency. AI can accelerate the selection. The photographer still decides what the photograph should feel like.
That is the standard at Flicks by Ed Media: polished without sanding away the person. You bring the vision. I’ll create the moment.
Keep building the portrait
Connect the edit to the rest of the shoot: start with One Light, Expensive Look, use Cinematic Video With One Camera for motion coverage, and bring the finished idea to portrait and video services.